Introduction
Interior design has completely transformed in recent years. Gone are the days when designers relied only on 2D drawings or flat presentations to showcase their ideas.
Today, people expect to experience how a room or building will look in real life, even before construction begins. That’s where Enscape Interior Rendering in SketchUp proves to be a game-changing tool.
In this comprehensive guide, we will cover everything you need to know – from what Enscape is, why it’s used, how to set it up in SketchUp, and tips to create stunning interiors that wow your clients.
Whether you are a student, a beginner, or a professional designer, this guide will help you master interior rendering with ease.
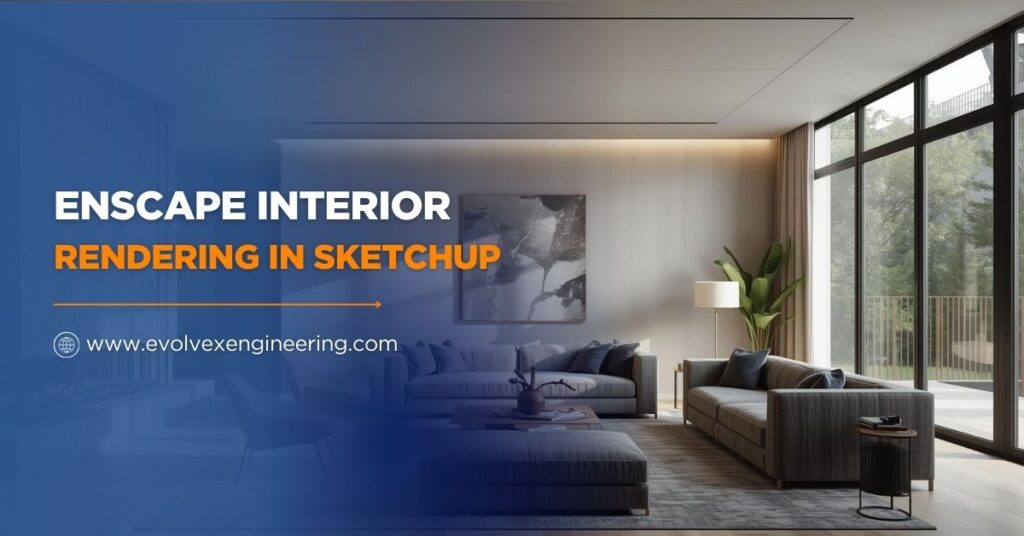
What is Enscape Interior Rendering in SketchUp
Enscape Interior Rendering in SketchUp is the process of transforming your SketchUp models into realistic 3D visuals using the Enscape plugin.
Instead of spending hours learning complex rendering software, Enscape connects directly with SketchUp and provides real-time rendering with just a click.
Imagine designing a living room in SketchUp.
With Enscape, you can instantly see how that room would look with natural daylight coming through the windows, soft reflections on the glass table, and warm lights glowing from a chandelier. This instant realism makes Enscape highly popular among architects, interior designers, and even real estate professionals.
Why is it so popular
- Real-time feedback – See design changes immediately.
- Easy workflow – Works directly inside SketchUp.
- Photorealism – Lighting, shadows, and materials look real.
- Virtual Reality (VR) – Present designs in immersive 3D.
Unlike traditional rendering tools that take hours to process a single image, Enscape delivers results in seconds, making it a must-have for anyone working with SketchUp interiors.
Benefits of Using Enscape with SketchUp
The rise of Enscape Interior Rendering in SketchUp is not accidental. It comes with multiple benefits that save time, improve design quality, and enhance client satisfaction.
Key Benefits
- Faster Rendering: Enscape generates images and walkthroughs in real time, so you don’t have to wait hours for results.
- Photorealistic Quality: Add realistic materials, lighting, and shadows that bring your project to life.
- Interactive Walkthroughs: Walk inside your 3D model like you’re in a video game.
- Seamless Workflow: Enscape runs directly inside SketchUp, so you don’t need to learn a new program.
- Client Presentations: Clients understand your vision better when they see lifelike designs instead of technical drawings.
How to Set Up Enscape in SketchUp
Getting started with Enscape Interior Rendering in SketchUp is very simple. Unlike other rendering tools, you don’t need advanced knowledge of rendering engines. A few clicks and you’re ready to go.
Step-1: Install Enscape Plugin
- Visit Enscape’s official website and download the latest version.
- Run the installer and select SketchUp during installation.
- After installation, open SketchUp, and you’ll see the Enscape toolbar at the top.
Step-2: Prepare Your SketchUp Model
- Create your interior space using SketchUp tools.
- Add walls, windows, doors, furniture, and décor.
- Keep your model clean with groups, layers, and tags for easy editing.
Step-3: Launch Enscape
- Click the Start Enscape button on the toolbar.
- A new Enscape window will open with your design in real time.
- You can now move around the interior, adjust lighting, and see instant results.
This easy setup makes Enscape ideal for beginners as well as professionals who want fast, reliable rendering inside SketchUp.
Mastering Enscape Interior Rendering in SketchUp
Once Enscape is installed, it’s time to master the tools that make your interior renderings realistic and visually appealing.
1. Lighting Setup
Lighting is the heart of good rendering. In Enscape, you can control both natural and artificial lights.
- Natural Light: Use SketchUp’s geo-location and sun settings to simulate daylight.
- Artificial Light: Add lamps, chandeliers, or LED strips inside SketchUp and watch them glow in Enscape.
- Balance Both: Too much artificial light can look fake, so combine it with natural daylight for a more realistic look.
Example: For a living room, let sunlight pour through windows while balancing it with warm ceiling lights for a cozy effect.
2. Materials and Textures
Materials decide how surfaces look—whether wood feels polished, glass reflects light, or fabric feels soft.
- Apply high-quality textures like marble, leather, or tiles.
- Adjust reflection, roughness, and transparency in Enscape.
- Use bump maps or normal maps to add surface depth.
Tip: Test how materials interact with light. A glossy marble floor should reflect ceiling lights, while a matte wall absorbs them.
3. Camera Angles
Choosing the right camera angle can transform a simple render into a professional visual.
- Use wide-angle views for entire room captures.
- Use eye-level views for realistic perspectives.
- Save multiple views for client presentations.
Example: For a bedroom, one camera angle can show the entire bed setup, while another highlights the décor and lighting near the window.
4. Realistic Details
It’s the small details that make interiors feel alive.
- Add plants, books, and personal objects.
- Use curtains, rugs, and cushions for softness.
- Include wall art, lamps, and accessories to avoid empty spaces.
Example: Instead of just a sofa, add a rug, side table, and floor lamp to create a homely vibe.
Enscape Interior Rendering in SketchUp for Beginners
If you are new to rendering, don’t worry—Enscape Interior Rendering in SketchUp is very beginner-friendly.
Easy Steps for Beginners
- Start with a simple room, like a living room or bedroom.
- Add basic furniture such as a sofa, bed, or table.
- Open Enscape and adjust lighting for day and night scenes.
- Test different materials like wood, tiles, or paint.
- Save your render as an image or video to share.
Pro Tip: Don’t start with complex scenes. Master basic lighting and materials first, then move to advanced features like reflections and VR.
Advanced Features for Professionals
For professionals, Enscape offers advanced features that take interior rendering to the next level.
- Asset Library: Thousands of pre-made objects like chairs, plants, lights, and accessories.
- Custom Materials: Import your own branded materials for uniqueness.
- Animations: Create video walkthroughs of interiors for presentations.
- Virtual Reality (VR): Let clients explore interiors using VR headsets.
Example: A hotel designer can create a VR walkthrough of a suite so clients can experience the design before it’s built.
Common Mistakes to Avoid
While rendering interiors with Enscape, beginners often make mistakes that affect quality.
- Overusing Lights: Too many lights make the scene look fake.
- Wrong Scale: Furniture should be proportionate to the room size.
- Messy Models: Cluttered geometry slows rendering and lowers quality.
- Low-Resolution Textures: Always use HD textures for walls, floors, and fabrics.
Pro Tip: Keep scenes clean and simple. A few well-chosen details are better than too many unnecessary objects.
Tips for Better Enscape Interior Rendering in SketchUp
Here are some expert tips to make your interiors stand out:
- Use real-world material samples for accuracy.
- Adjust color temperature of lights for mood—warm for cozy, cool for modern.
- Add mirror reflections to make rooms look bigger.
- Use white mode rendering to focus only on lighting and shadows.
- Save multiple views to compare different design options.
Example: For an office, try cool white lighting and minimal furniture. For a living room, use warm lighting and layered décor for a homely vibe.
Why Choose Enscape Over Other Rendering Tools
There are many rendering tools like V-Ray, Lumion, and Twinmotion. So why pick Enscape?
Key Differences
- Speed: Enscape is faster than most, showing real-time results.
- Ease of Use: Simple interface, no need for advanced settings.
- Direct Integration: Works directly inside SketchUp.
- Instant Feedback: Any design change updates instantly in Enscape.
Example: While V-Ray may take longer for one image, Enscape lets you instantly create multiple renders and walkthroughs in minutes.
Real-Life Use Cases
Here are real-world applications of Enscape Interior Rendering in SketchUp:
- Architects: Test different layouts and materials.
- Interior Designers: Showcase furniture, colors, and lighting to clients.
- Students: Present projects with high-quality visuals.
- Real Estate Agents: Create realistic property tours for buyers.
Example: A real estate agent can use Enscape to create a virtual walkthrough of an apartment, helping buyers visualize the space before visiting.
Future of Interior Rendering with Enscape
The future of Enscape Interior Rendering in SketchUp is exciting. With AI and technology improving, we may soon see:
- AI-based lighting suggestions for faster workflows.
- Automatic furniture placement for interiors.
- Ultra-realistic rendering quality in seconds.
- Cloud rendering for collaboration across devices.
This means interior designers will spend less time adjusting settings and more time being creative.
Conclusion
Enscape Interior Rendering in SketchUp makes interior design easier, faster, and more professional.
It helps you transform ideas into realistic 3D experiences without needing advanced skills. Whether you are designing a living room, office, or retail space, Enscape allows you to create photorealistic visuals and immersive walkthroughs in minutes.
If you want your designs to impress clients, improve presentations, and stand out from the competition, it’s time to start using Enscape Interior Rendering in SketchUp today.